UTE INSTALL GUIDELINES
These guidelines are designed to help you install your Judge & Co drawer system correctly and safely. Please read the full guide before starting, and take care when drilling or tightening bolts to avoid damage to your vehicle or the drawer system.
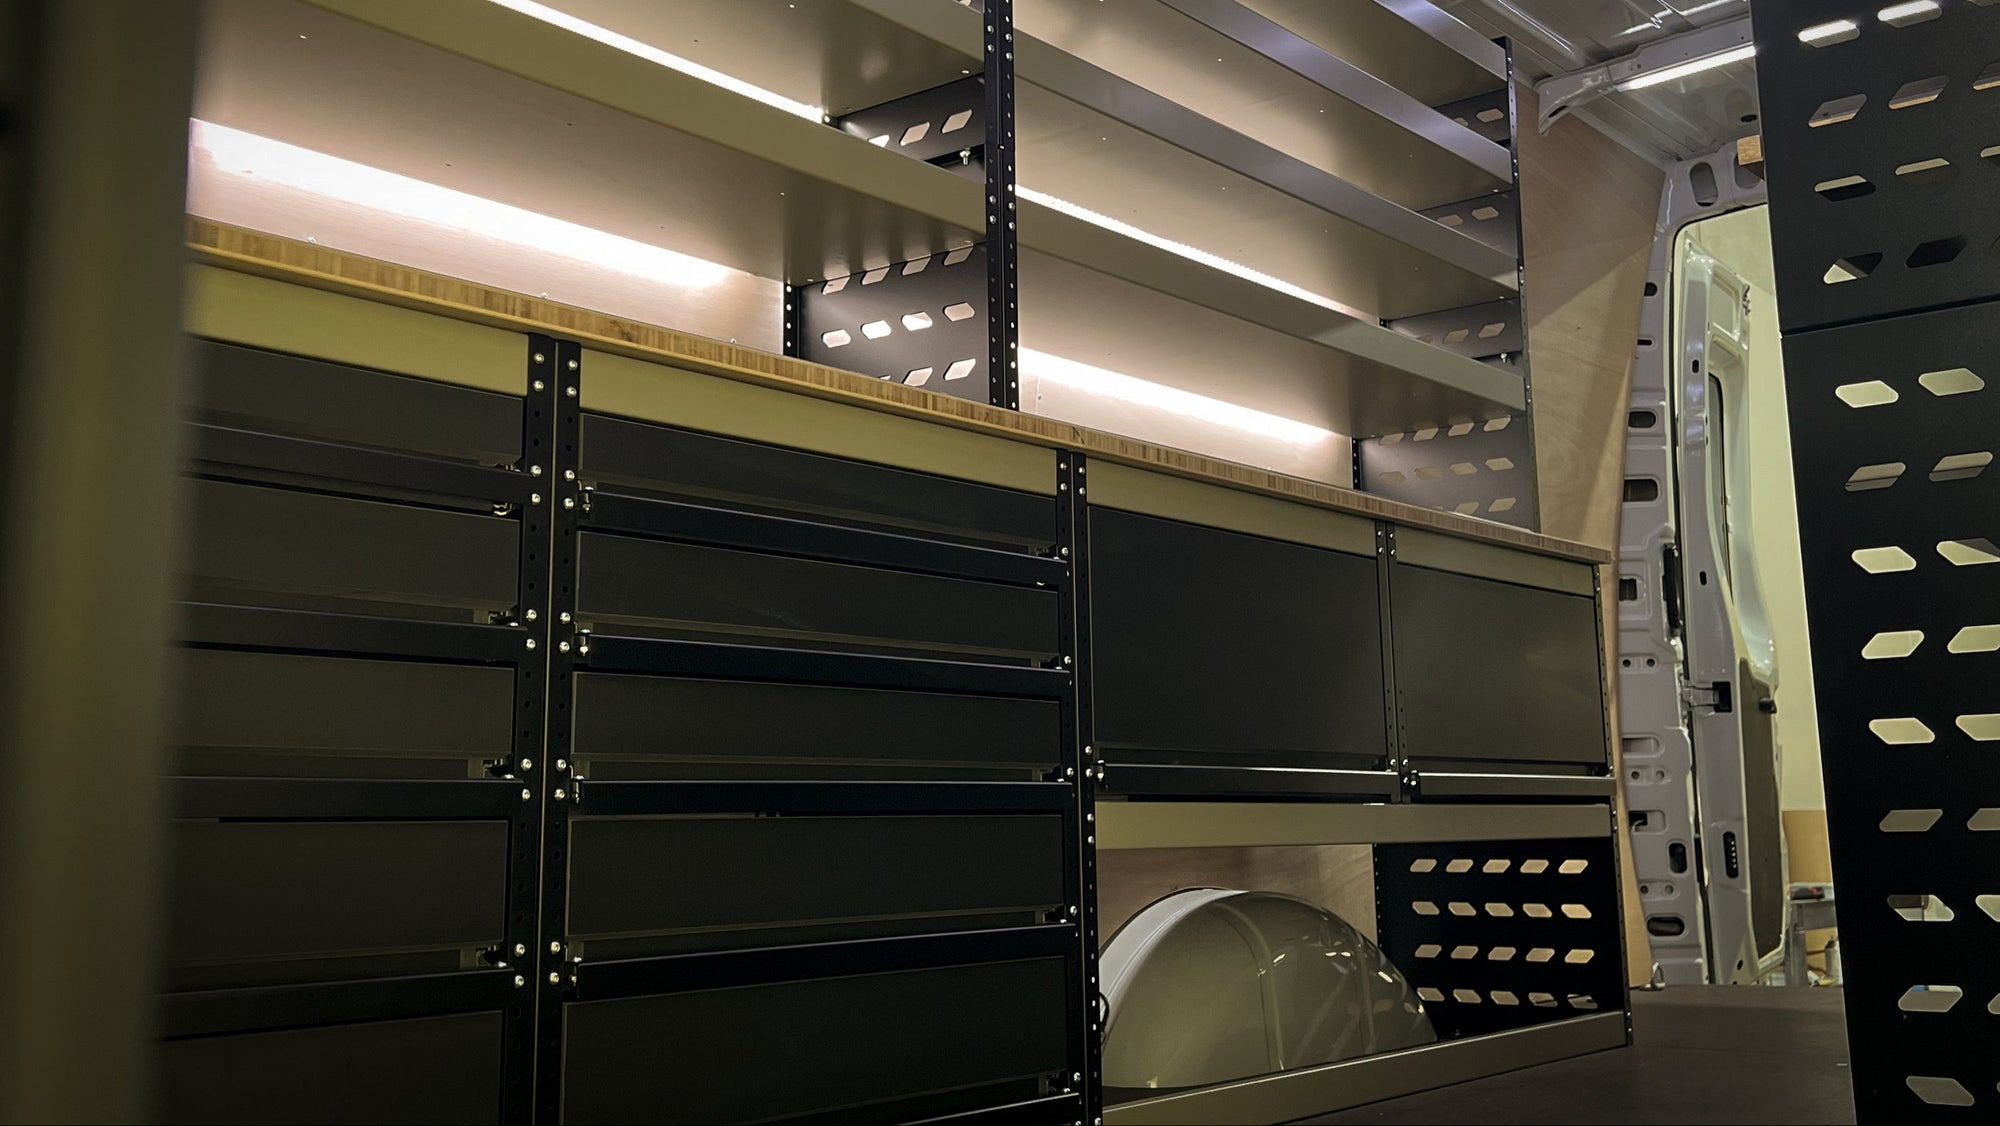
Step 1: Unpack & Prepare
-
Carefully remove the packaging from the pallet and take off the two-piece topper (top surface) from the drawer system.
-
Place the drawer system into the rear of the ute tray and roughly centralise it.
Step 2: Position the System
-
Once the drawer system is approximately positioned, take the two-piece topper and loosely place it back on top of the drawers.
-
Hand-tighten the bolts through the topper into the brackets — just enough to hold it in place while allowing adjustment.
-
Push the entire system hard back against the rear of the tub, ensuring it is sitting square and centralised.
Step 3: Drill Front Mounting Holes
-
Once you’re happy with the position, drill one hole on each side through the mounting bracket into the vehicle floor.
-
Before drilling, check carefully underneath to ensure you’re not drilling into wiring, fuel lines, or brackets.
-
Important for Next-Gen Ranger & Raptor: A wiring loom runs about 20mm below the tub. Drill shallow and cautiously to avoid damaging this loom.
-
After drilling, apply a light coat of paint, rust kill, or lanolin to the bare metal to prevent corrosion.
-
Insert the supplied bolts through the brackets and into the holes, and tighten them just enough to secure — do not over-tighten, as this may bend the brackets or distort the drawer system.
Step 4: Shim & Pack (If Required)
-
If the vehicle floor or liner creates unevenness:
-
Use the supplied penny washers as shims for small gaps (a few millimetres).
-
For larger gaps (specific vehicles only), use the supplied Nolathane packers.
Step 5: Rear Mounting (Tip Brackets)
-
With the front of the system securely mounted, move on to the tip brackets at the rear.
-
These brackets are designed to prevent the drawers from tipping up when fully extended — they are not the primary mounting point, which is handled by the front bolts.
-
The brackets are universal and suit most utes and canopy configurations. Each has a 50mm base and a 200mm slotted upstand for flexible mounting.
Installing the Rear Brackets:
-
Ideally, the tip brackets should be placed at the rear of the drawer system, hard up against the wellside.
-
If this isn’t possible and you cannot achieve the desired position for riveting or nut-and-bolting, the brackets can alternatively be mounted on the passenger and driver sides, as far back as possible.
-
This often provides easier access to get a nut and bolt through the downturn lip of the canopy or wellside, or to use the supplied rivets.
-
Fix each bracket to the top of the plywood using the four supplied stainless steel tech screws.
-
Then secure the upstand portion of each bracket to the vehicle:
-
Ideally, with one singular bolt per bracket attaching it to the wellside or canopy.
-
Or alternatively, use two rivets per bracket, also supplied.
-
Ensure the brackets are positioned as far to the rear of the system as physically possible, whether on the rear face or side, to provide maximum stability.
Note: Every vehicle and canopy configuration is slightly different. The rear brackets are adaptable, and their main purpose is to prevent tipping — not to hold the system in place.
Drawer Dividers
Drawer dividers are supplied loose within the system, along with the appropriate screws required for installation. These dividers can be positioned anywhere within the drawer to suit your preferred layout and organisational needs.
When installing the dividers, please ensure:
-
The screws do not penetrate through the hard PVC skin of the drawer carcass.
-
Screws should be tightened flush with the surface of the divider — do not countersink them.
This allows for a clean, secure fit while maintaining the integrity of the drawer system.
SLED Installation
If you have opted for a SLED with your drawer system, follow these steps once the base drawer unit and all relevant front and rear mounting brackets (including tip brackets) have been correctly installed:
-
Position the SLED:
Place the SLED on top of the installed drawer system and position it where you would like it. -
Make sure the canopy rear door closes properly and the SLED isn’t positioned too far forward.
-
Ensure it is centralised on the drawer unit and that the handle position is comfortable and accessible.
-
Align the SLED:
Gently open the SLED approximately 200mm. This exposes the rear holes in the base plate. -
Fix the Rear of the SLED:
Using the supplied tech screws and large penny washers, fix the rear of the SLED down through the slotted holes.
-
Check Alignment:
Close the SLED and check that it opens and closes smoothly without binding on the locking tabs. -
If it binds or feels misaligned, it may have shifted when screwing down.
-
To correct this, you can slightly loosen the rear tech screws and adjust, or gently bump the front of the SLED by hand to shift it into alignment.
-
Secure the Front:
Once you’re happy with the alignment and operation of the SLED, open it to full extension. -
Secure the remaining tech screws into the front and rear of each slotted hole.
-
Place screws at each end of each slot to maximise strength.
-
If your system is a JUMBO width, use all supplied screws (typically eight per side).
-
If your system is Standard width, use the supplied bolts at the front. Bolt these through the slotted section and tighten from underneath.
Final Checks
-
Ensure all bolts and screws are snug but not over-tightened.
-
Confirm the drawer system is square, level, and slides in and out smoothly.
-
Wipe down and clean the surfaces, and your installation is complete.
Need a Hand?
If you run into any issues during installation or need some extra guidance, don’t hesitate to reach out to us. We’re always happy to walk you through the process and help troubleshoot any problems you might encounter.
Become a Retail Partner and Grow Your Business